

It's been a while since I've posted a DIY project here (I'm embarrassed to even find out how long!). In reality, though I haven't posted, DIY projects are part of our every day life at home. I'm homeschooling Liam this year for his second year of pre-K and about 75% of our daily "work" involves art. He thrives doing it and I thrive teaching it, so it's a good fit for our family. Liam and Lanie's very favorite thing is when we have an "art day" where we do several projects in a row. I set out some simple supplies - glue, tape, construction paper, kid-friendly scissors, glue sticks, markers, play dough - provide some guidance, and they can go for hours. For some moms, I'm sure that sounds overwhelming. But I believe that if you set up your space well, putting down paper or towels and using washable supplies, it's doable.
Now onto this project...
There are dozens of ways to marble paper with shaving cream, and this is just one of them. I loved the results so much that I thought I'd share the materials and steps we used!
Materials:
Watercolor paper (cut to fit your container of choice)
Shallow dish or container to hold the shaving cream
Popsicle sticks
Spatula or ruler
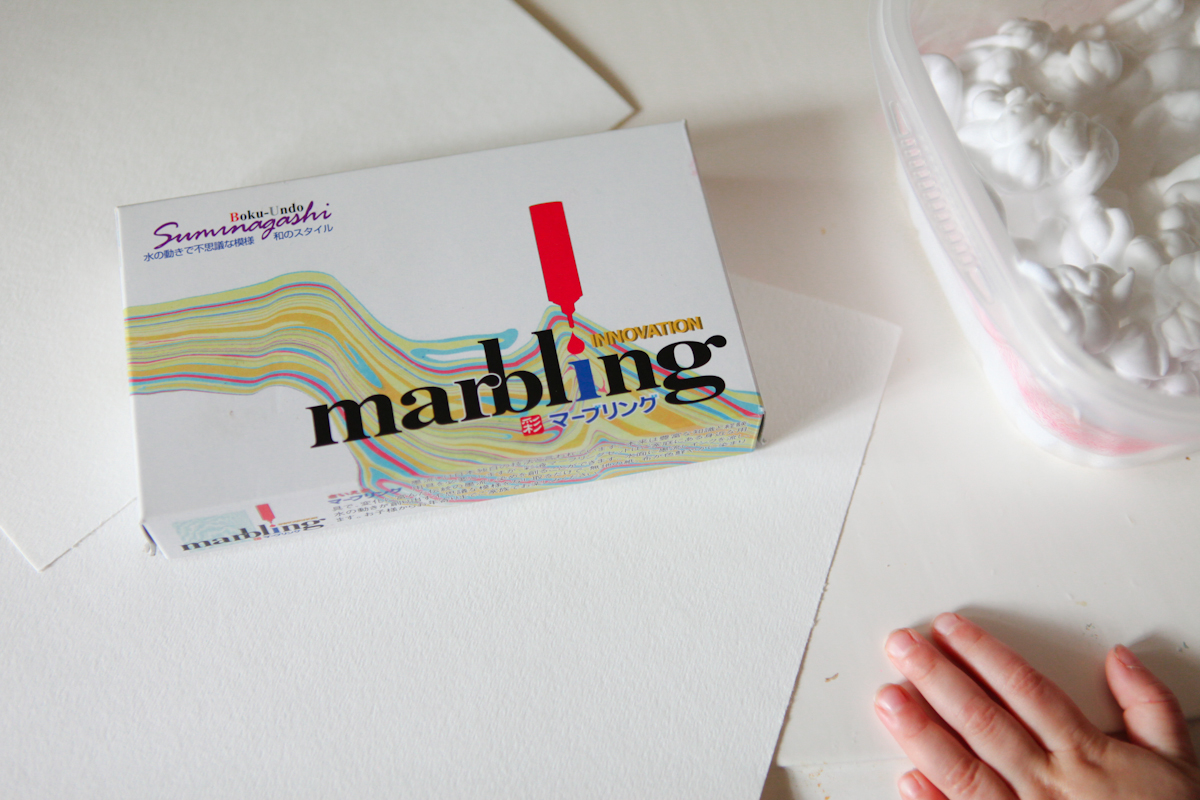
*This marbling ink kit is a small investment for a lot of fun projects! If you follow the instructions on the box, you can marble paper with just water and ink. Also, there are many other ways to marble paper with shaving cream: tempera paints, food colors, acrylics. I just love this because a little goes a long way and we can use it for several projects. I totally recommend it.
Here's how:
1. Squirt some shaving cream into a shallow dish (if your child is old enough and can be trusted, kids love doing this part!).


2. Let your child choose which colors they'd like and drop a few drops into the shaving cream.


3. Use the popsicle sticks to swirl the colors into the shaving cream. Be sure not to overmix it.


4. Place the paper into the shaving cream, making sure the entire front side is saturated with shaving cream.


5. Pull the paper out and scrape off the shaving cream with a spatula or ruler to reveal the design. Let it dry completely and you're done!


We had fun cutting out the shapes into leaves and pasting them on paper, but the options for this paper are endless: making stationery or cutting small shapes to create a garland are just a couple ideas. Enjoy!


This is process art at its best!
ReplyDeleteYES!
DeleteHowdy! This post could not be written much better! Reading through this post reminds me of my previous roommate! He always kept talking about this. I will send this article to him. Fairly certain he will have a very good read. Thank you for sharing!Also Download Cinemaboxhd to download new movies free.
ReplyDeleteHey there whitney, this is a lovely post. The kids seem to be enjoying what they're doing so I think i'll get my kids involved in this activity too. Just gotta finish up on my best quality writing paper first. Thanks for posting, and keep it up :)
ReplyDelete