Today, we're joining up with KidLab's "Beetle Week" to share a DIY project that's perfect for kids of all ages as we head into summer. We're creating beetles in the whimsical collage style of Eric Carle. This is a project that could stretch over a few days as you wait for paint and glue to dry, but only requires short bursts of concentration for younger children. And it yields SUCH fun results! We're basing our designs on Eric Carle's book, The Very Clumsy Click Beetle.
DIY with kids: Collage beetles!
Monday, October 7, 2019
Today I'm sharing a simple DIY project that my kids had so much fun with. This would make a perfect homeschool mini unit study on the history of stained glass or a lesson for a co-op!
During the Gothic period and the Renaissance (1100s - 1500s), stained glass was one of the foremost painting techniques practiced in Europe. The process of coloring glass was probably invented in ancient Egypt, but it was during the Middle Ages that stained glass windows developed as a major art form. Stained glass windows were an important feature of Gothic-style churches, which first arose in the mid-1100's. The windows filled the interiors of the churches with light and color. They also served an educational purpose. During the Middle Ages, the church was the center of learning. There were few books, and only a few people could read. The designs in the first stained glass windows usually depicted stories or scenes from the Bible. Such scenes were important tools in teaching Christian beliefs to people who visited the churches.
The term "stained glass" derives from the silver stain that was often applied to the side of the window that would face the outside of the building. When the glass was fired, the silver stain turned a yellow color. Artisans of the Middle Ages perfected techniques for making stained-glass windows, many of which are still used today. On a large board, the artisan drew a picture the same size at the window. He numbered each section of the picture according to color. Over the drawing he placed pieces of glass that had already been colored while the glass was being made. Then, following the outline of the drawing, he cut out the shapes with a hot iron. Finally, the artisan cut strips of lead to fit between the pieces of glass. The lead did more than hold the pieces together; it became part of the design. Large windows were given a framework of iron bars for added strength.
New methods have since changed the appearance of stained glass. But one thing has never changed: the magic effect of sunlight pouring through colored glass.
Supplies:
Plastic box frame or frame glass (for older kids)
Glass paints (I found these at Hobby Lobby)
Small paint brush
Stained glass window template (find some here to print)
Tape
Steps:
1. Place template behind glass or plastic frame and tape into place.
2. Using puffy paint, trace the lines of the template onto the glass (may need mom or dad's help with this part). Hold the tip to the surface of the glass and squeeze gently.
3. Allow to dry completely, at least 3 hours lying flat.
4. Once dry, use a small brush and glass paints to fill in your design. Let dry overnight.
Wednesday, July 24, 2019
Today I'm sharing a fun Viking-themed DIY project that's rooted in history. This could be used in a homeschool co-op setting or even as a mini unit study on Vikings.

The Vikings, who came from what is now northern Europe (Denmark, Norway, and Sweden), used letters called runes and carved their writing and designs into stones or wood. The first runic carvings date back to 200 AD and runes were used to write up until the Middle Ages.

The Viking alphabet, called the Futhark, is composed of 24 sound syllables or runes. Each rune is composed of combinations of mostly straight lines that made them relatively easy to carve. Bills, stories, and even love messages were written in runes on sticks. Vikings also celebrated men who died heroically in battle with memorial stones. These stones were carved with pictures and runes and were placed in public places for people to admire.
Today, you will be using "Elder Futhark," the oldest version of the Runic alphabet, to compose a Viking message on a clay stone.


Supplies:
Toothpicks for carving
Aluminum foil
Oven
(Optional) 1 tsp. white flour
Steps:
1. Roll your piece of clay into a smooth ball in your hands, then flatten the ball to form a flat oval-shaped stone. (Variation: Divide your piece of clay into four equal sections, then roll each one into a ball and flatten it into a stone.)
2. Using your toothpick and the Futhark alphabet as your guide, carve a message or story into your stones. Perhaps you can carve your name? Or maybe you could compose a simple story using the words listed under the alphabet? The possibilities are endless!
3. With a parent's help, place stone(s) onto an aluminum foil sheet and bake in the oven at 275 degrees Fahrenheit for 20 minutes (or according to package instructions).
4. Let cool completely.
5. (Optional) Once cool, add one teaspoon of white flour and rub into the crevices to create a more realistic stone.
Monday, July 15, 2019
For our next free sewing pattern installment, I'm sharing my personal favorite: the Sydney clutch. When I was sewing bags for a living and selling them on Etsy, this was my most popular design. It's simple enough for a beginner, even with a zipper involved! I take you through step by step with very clear instructions.
Download the free PDF sewing pattern here:
Friday, July 5, 2019
For our second installment of sewing patterns I'm sharing, today we'll sew the Emma clutch. This simple foldover clutch with a magnetic snap is classy and clean, perfect for every day use. It measures 10" wide (at the widest point) and stands approximately 6" high.
This tutorial is created with the beginner in mind. Someone who has completed a few simple projects will be able to complete this bag. And YES! You can sell the finished product! Please offer me design credit in any written description by linking back to my blog.
The downloadable pattern comes with printable pattern pieces. You can download the FREE pattern here:
This tutorial is created with the beginner in mind. Someone who has completed a few simple projects will be able to complete this bag. And YES! You can sell the finished product! Please offer me design credit in any written description by linking back to my blog.
The downloadable pattern comes with printable pattern pieces. You can download the FREE pattern here:
Thursday, July 4, 2019
Does anyone remember when I made a living sewing bags for bridesmaids? It feels like a million years ago, but I loved it!
Now that I'm in a very different season with 4 small children, homeschooling, and keeping up my nursing license... I've decided to "retire" my patterns and share them for FREE with you! Over the next several days, I'll be sharing all of the patterns that were formerly listed in my Etsy shop. Please feel free to download, share with friends, or pin them for later. And if you make something from one of these patterns, I'd love to see!
First up: this pleated flower sewing tutorial. This makes a beautiful addition to any bag, or could even be attached to a headband or brooch.
Wednesday, July 4, 2018
I just did something I've been meaning to do for, oh, 5 years. I made a DIY page with photos so you can easily access all the DIY projects from the blog! If you look at the top menu bar and click on DIY, it'll take you straight there.
It's organized by section (sewing, outdoors, furniture, etc.) and just clicking on each photo will take you to the project.
Happy crafting, friends. And happy 4th of July!
It's organized by section (sewing, outdoors, furniture, etc.) and just clicking on each photo will take you to the project.
Happy crafting, friends. And happy 4th of July!
Tuesday, October 17, 2017
I know I'm not the first to share this project and I sure won't be the last... but when you land on an art project that a) requires materials you probably already have and b) is safe enough for even a 2-year-old to do mostly unassisted... well, I couldn't help but share it.
Materials:
Pumpkin (any shape, size, or color)
Glue
Broken crayons
A hair dryer or embossing heat tool
Trash bag (to protect tabletop)
Instructions:
1. Unwrap broken bits of crayons.
2. Glue crayons to top of pumpkins and let dry.
3. Place pumpkins on a trash bag to protect your work surface.
4. Use a hair dryer on the hottest setting or an embossing heat tool like this one to melt the crayons. That's it!
My kiddos loved watching the crayons melt all over the place, and I loved letting them do a project all on their own. Enjoy!
Pumpkin (any shape, size, or color)
Glue
Broken crayons
A hair dryer or embossing heat tool
Trash bag (to protect tabletop)
Instructions:
1. Unwrap broken bits of crayons.
2. Glue crayons to top of pumpkins and let dry.
3. Place pumpkins on a trash bag to protect your work surface.
4. Use a hair dryer on the hottest setting or an embossing heat tool like this one to melt the crayons. That's it!
My kiddos loved watching the crayons melt all over the place, and I loved letting them do a project all on their own. Enjoy!
Tuesday, September 26, 2017
It's been a while since I've posted a DIY project here (I'm embarrassed to even find out how long!). In reality, though I haven't posted, DIY projects are part of our every day life at home. I'm homeschooling Liam this year for his second year of pre-K and about 75% of our daily "work" involves art. He thrives doing it and I thrive teaching it, so it's a good fit for our family. Liam and Lanie's very favorite thing is when we have an "art day" where we do several projects in a row. I set out some simple supplies - glue, tape, construction paper, kid-friendly scissors, glue sticks, markers, play dough - provide some guidance, and they can go for hours. For some moms, I'm sure that sounds overwhelming. But I believe that if you set up your space well, putting down paper or towels and using washable supplies, it's doable.
Now onto this project...
There are dozens of ways to marble paper with shaving cream, and this is just one of them. I loved the results so much that I thought I'd share the materials and steps we used!
Materials:
Watercolor paper (cut to fit your container of choice)
Shallow dish or container to hold the shaving cream
Popsicle sticks
Spatula or ruler
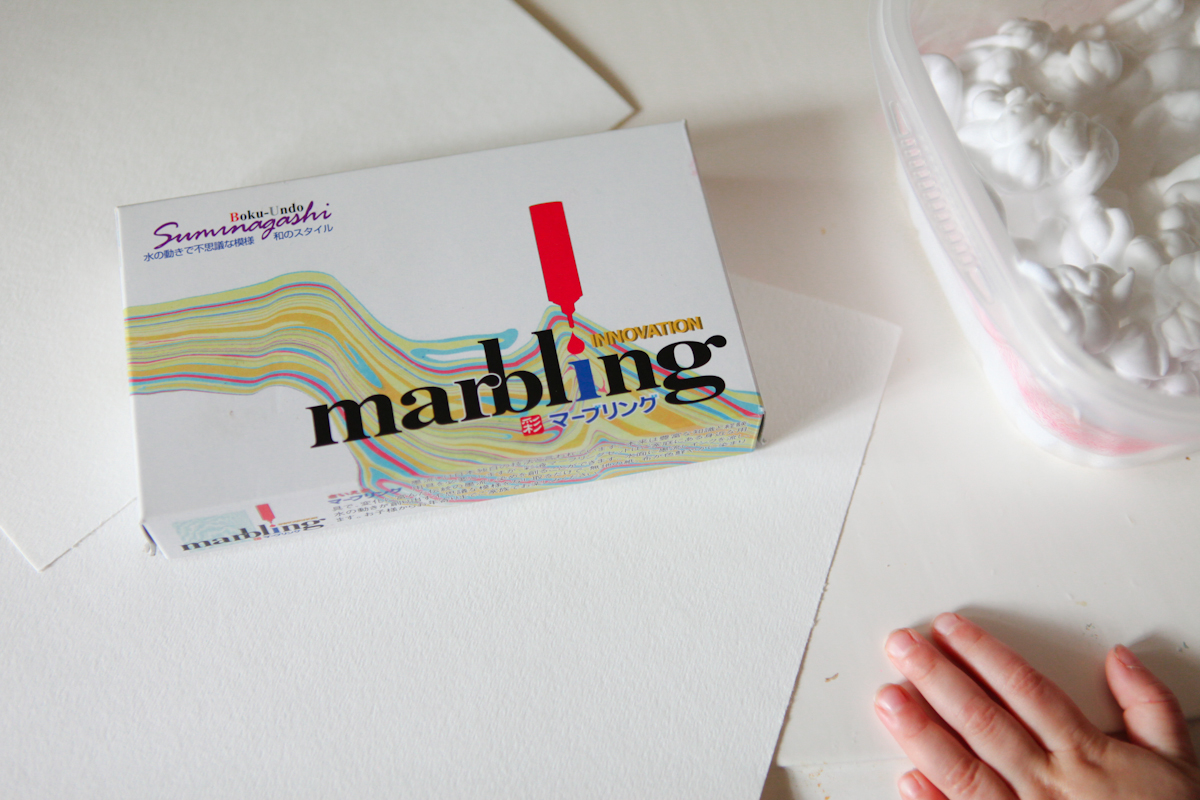
*This marbling ink kit is a small investment for a lot of fun projects! If you follow the instructions on the box, you can marble paper with just water and ink. Also, there are many other ways to marble paper with shaving cream: tempera paints, food colors, acrylics. I just love this because a little goes a long way and we can use it for several projects. I totally recommend it.
Here's how:
1. Squirt some shaving cream into a shallow dish (if your child is old enough and can be trusted, kids love doing this part!).
2. Let your child choose which colors they'd like and drop a few drops into the shaving cream.
3. Use the popsicle sticks to swirl the colors into the shaving cream. Be sure not to overmix it.
4. Place the paper into the shaving cream, making sure the entire front side is saturated with shaving cream.
5. Pull the paper out and scrape off the shaving cream with a spatula or ruler to reveal the design. Let it dry completely and you're done!
We had fun cutting out the shapes into leaves and pasting them on paper, but the options for this paper are endless: making stationery or cutting small shapes to create a garland are just a couple ideas. Enjoy!