
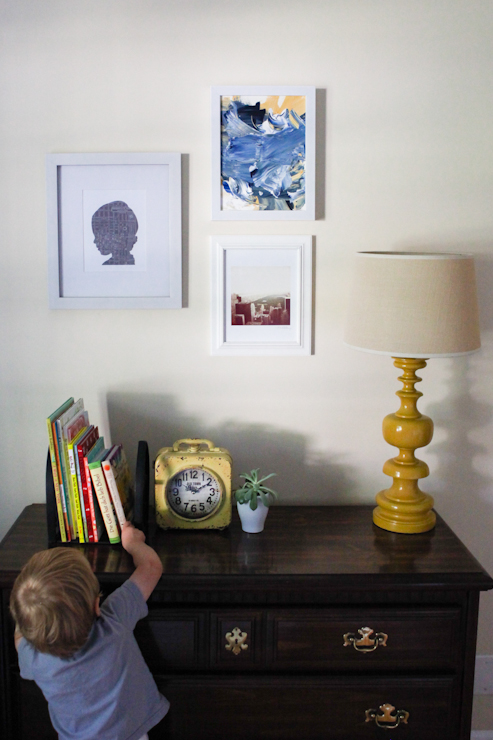
I started out wanting a silhouette of Liam with a vintage "paint by number" like one of these in the background. When I actually tried it out, though, it didn't feel quite right. So I switched it up to feature a vintage Nashville map - an ode to Liam's birthplace.
This project involves using Photoshop, but because I know not everyone has access to it, I'll explain how to make one without Photoshop as well.


3b. If not using Photoshop, cut out the outline of your subject. Find a vintage map on Google images, print it out, and trace the silhouette onto it. Carefully cut out the vintage map in the shape of the silhouette, paste on white paper (double sided tape would work well), and frame.
4. If using Photoshop, I found this tutorial for the next few steps so helpful. Following the steps of the tutorial, you'll go from a scanned photo to a silhouette, as shown below. I found that outlining the subject beforehand helped the magnetic lasso tool grab the correct outline, which is why I started with that.


Here are a few that I tried and wasn't crazy about, mainly because the silhouette image seemed to get a little lost.

I finally settled on this one, a vintage Nashville map:

8. Print it out in your desired size, frame it, and you're done! Because the background is transparent, it will print as whatever color your paper is (in my case, white).


i LOVE this idea!!! bookmarking for when i have a little one. :) thanks for sharing!
ReplyDeleteWhat a cute idea. Such a great way to preserve their little profile since they grow up way to fast!
ReplyDeleteThis is such a cute idea. Thanks for sharing! - J
ReplyDelete