

I've been seeing this idea around for a while, and I love it! I figured out how to make one myself, and wanted to share the instructions. These would make such simple, sweet moving gifts, don't you think? Or even a little framed print in a baby's room for the city where they were born? I'm using Photoshop for this tutorial, and while I'm sure there are other ways to make these, I'm not quite tech-y enough to know how. Maybe someday. I'll be making a state map of North Carolina, just to show you the ropes.
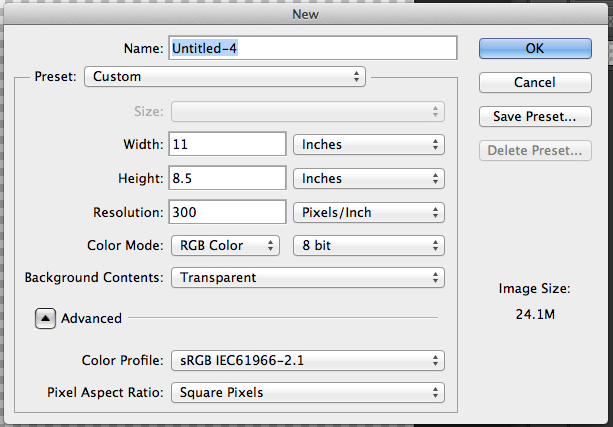
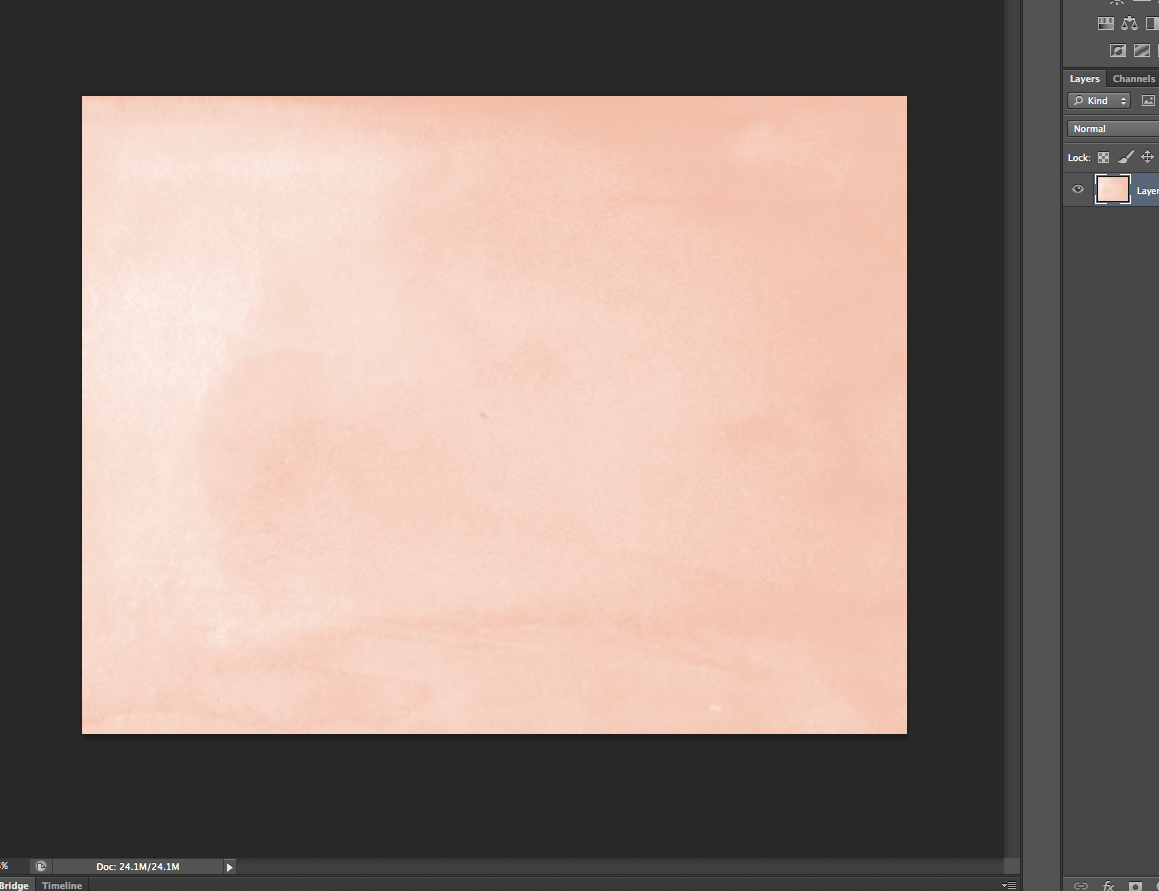
1. Start out by opening a new document in Photoshop that measures 11" wide x 8.5" high (or if you're making a more vertical state like California, you'll want to make it 8.5" wide by 11" high).
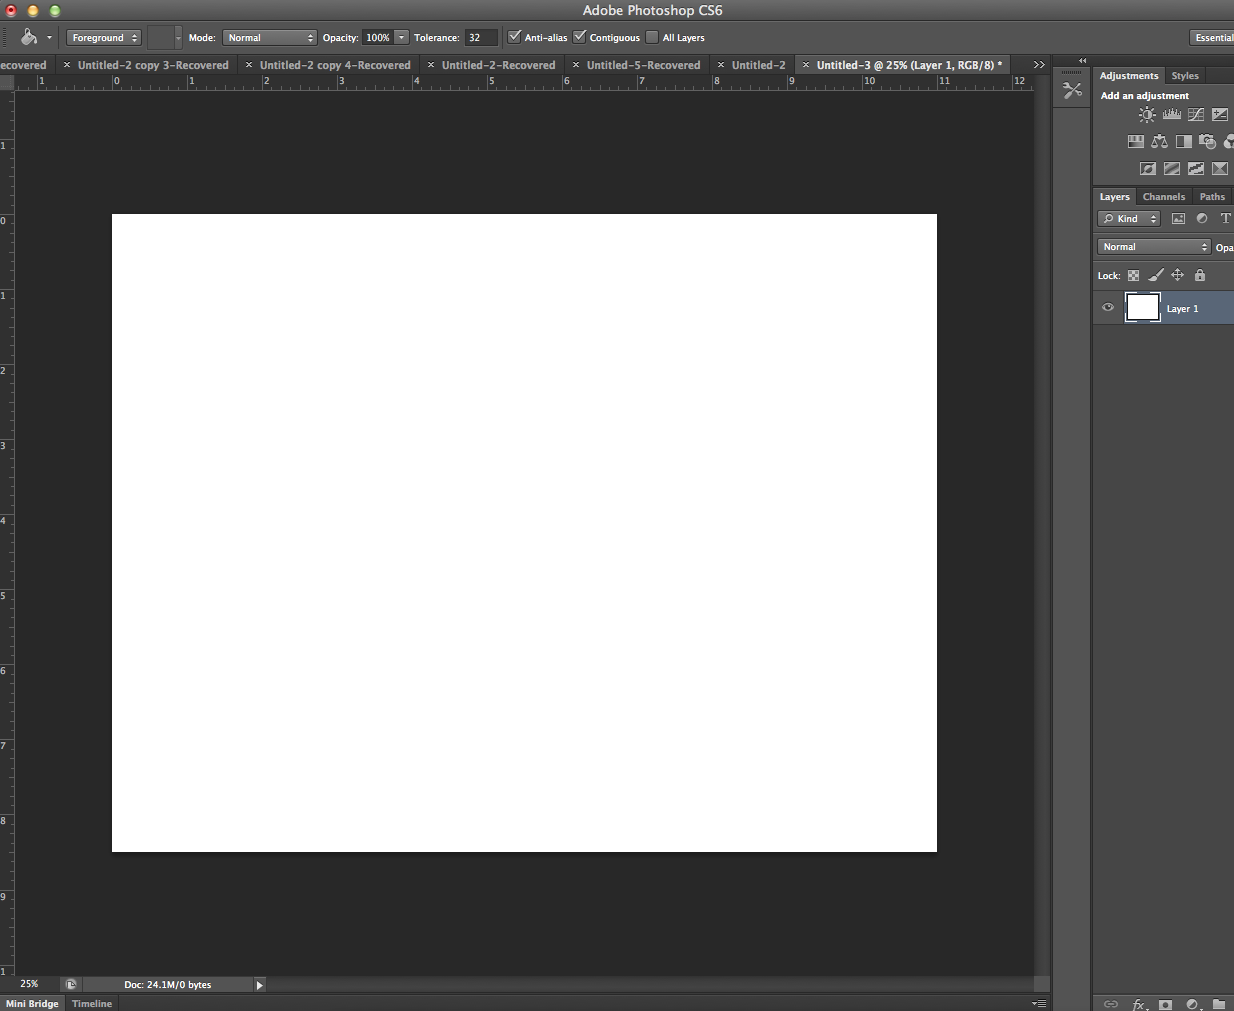
2. Using the paint can tool, paint the background white.
3. For the watercolor background, I purchased this Photoshop brush set from CreativeMarket.com. It's $5 and includes 130 shapes. There are so many great things you can do with this! Download and install this brush set or another like it.
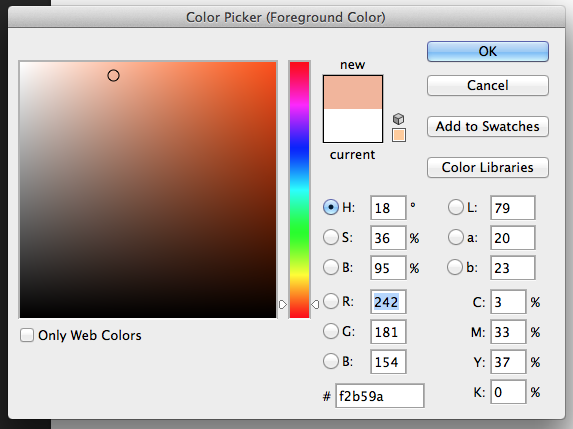
4. Create a new layer, then select a color you'd like for your background. Choose one of the rectangle brushes and enlarge it so it covers the entire white space. Then go ahead and click the white space to use your brush. You should have a watercolor background at this point.
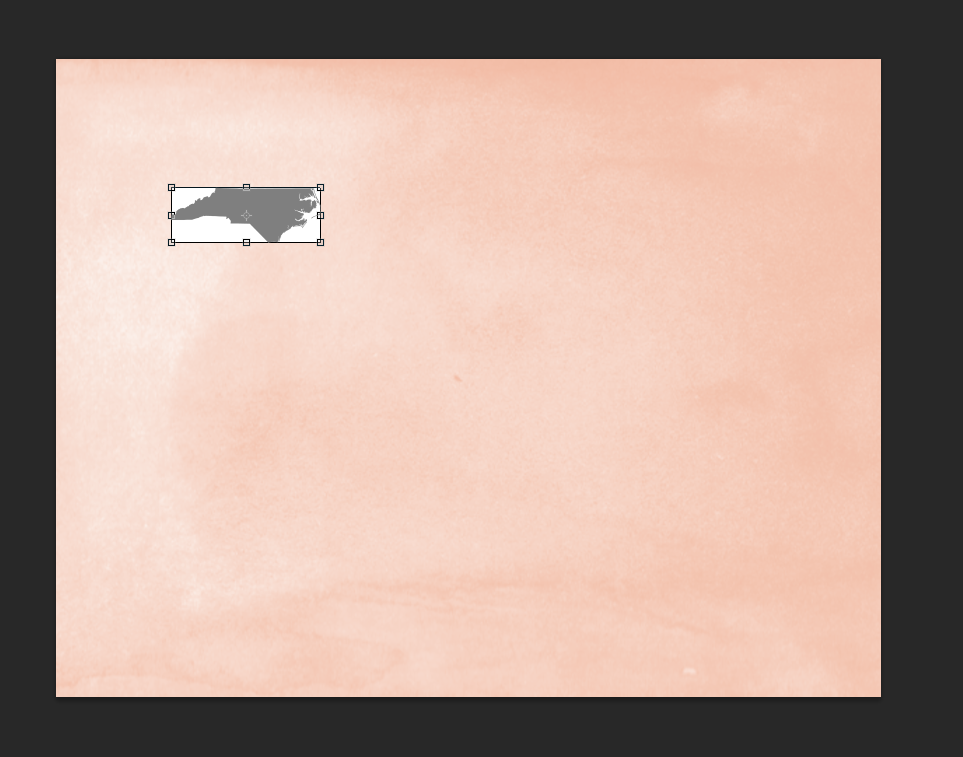
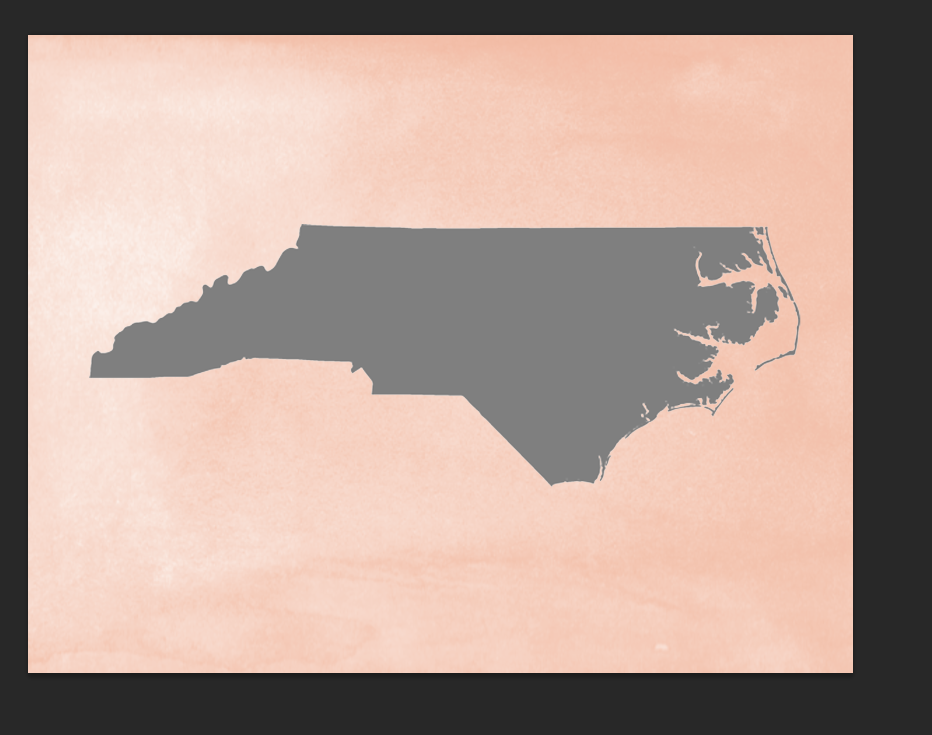
5. Now, using Google, find a silhouette of your state (or country). I just typed in "North Carolina silhouette" and found a bunch of options. You'll want something that's large enough of an image that it won't be blurry by the time you enlarge it on your page.
6. Drag the silhouette image into your Photoshop document and enlarge so it fills most of the document.

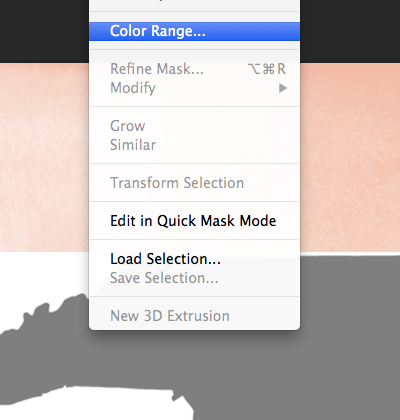
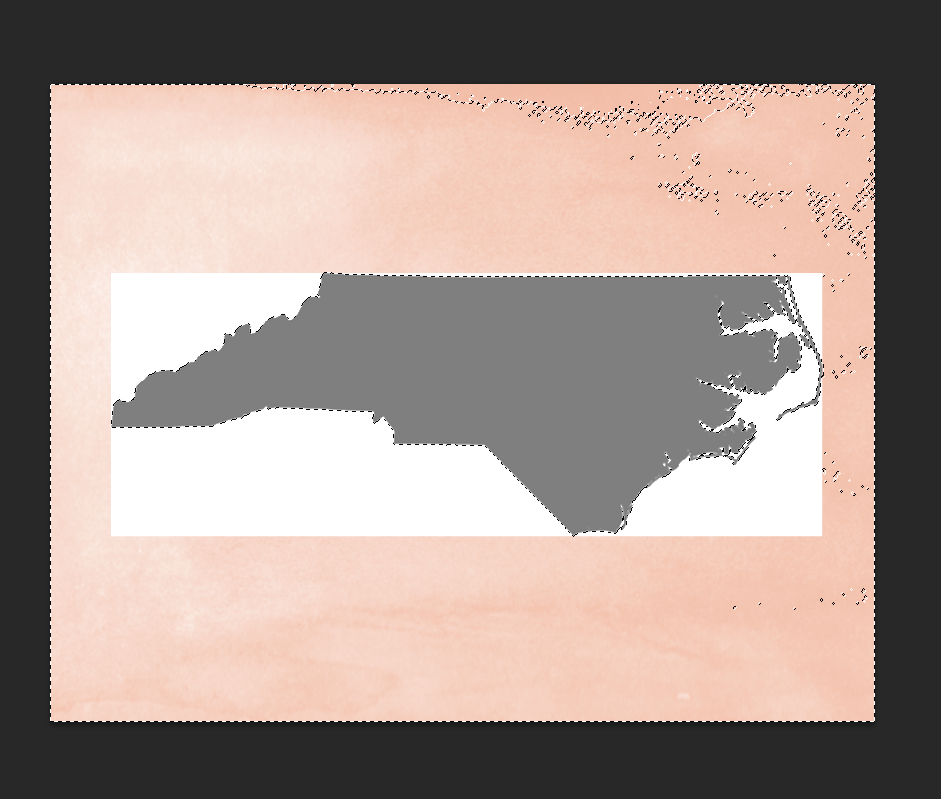
7. With the state layer selected, go to "select -- color range" and click on the white part near the state. Click "ok" and the white part will be selected. Hit "delete." This will delete the border color so you're left only with your state on the watercolor background.

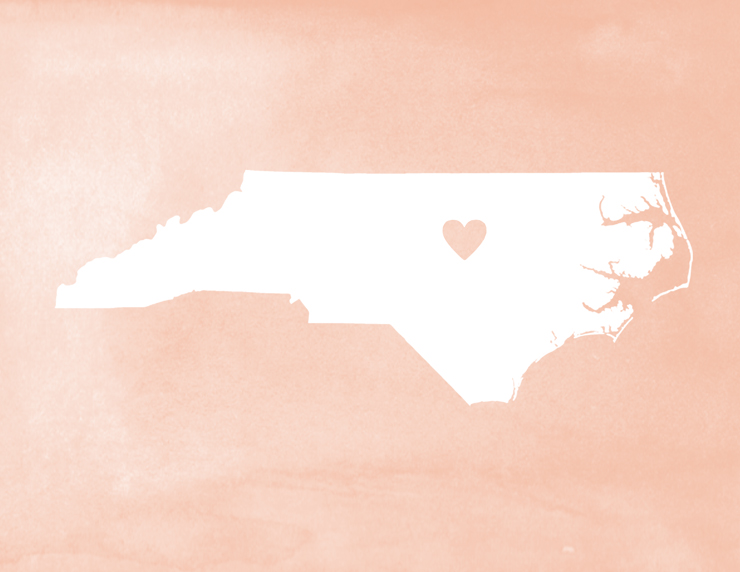
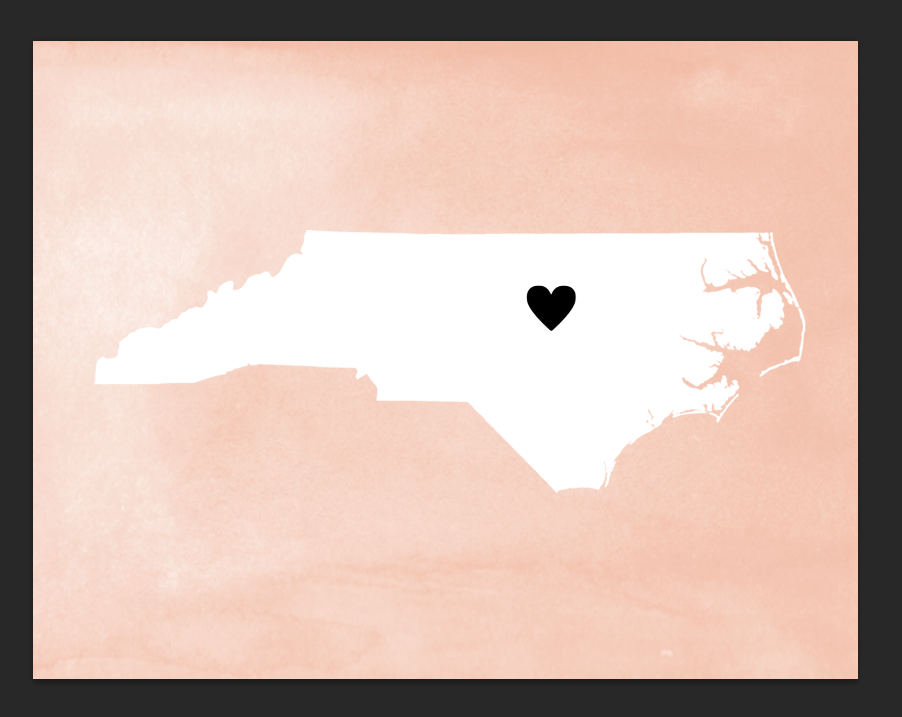
8. Now, still with the state layer selected, go down to "fx" and click "color overlay." It will naturally give you a red color, but you can click on the color and choose whatever color you'd like. I love white for this.


9. Finally, Google a heart silhouette and drag it over to your document. Drag it into the whatever part of your state you'd like and, like you did with your state, you'll want to delete the background. Select the heart layer, and go to "Select -- color range" and click on the outside of the heart (the white part). Click "ok" and then you can delete the selected area to reveal the heart.

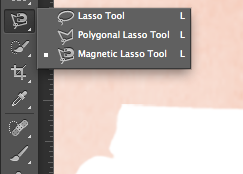
10. Now, if you'll zoom into the heart so you can get a really clear look at it, then go to the "lasso" tool and select "magnetic lasso." This is important... before lassoing, make sure you've highlighted the state layer and not the heart layer. Then, use the magnetic lasso and click all the way around the edges of the heart. Then press "enter" and you should have the heart shape selected. Now "delete." You won't be able to tell anything has happened at first, but then click the heart layer and pull it down to the trash (or just delete it). What you'll find is that you've cut through the shape in the shape of a heart and you can see through to the background. Yay! You've finished!


Hey there! Awesome tutorial! I've been looking for something like this for awhile now :) I'm still very much in the learning stages of Photoshop Elements. I purchased the watercolor brushes and downloaded them, but when I try to follow your instructions, my brush won't get big enough to cover the entire 8.5x11 document. What do you suppose I'm doing wrong?
ReplyDeleteSo glad!
DeleteYou may have already realized this, but the stamps are in all different sizes. There are only a couple that will get as big as 8.5" x 11".
If that still doesn't work, there's another easy way... once you've stamped it in the page (and it's still too small), hit "command T" which will highlight that shape, then you can use your mouse to make it bigger and go off the edges of the page. I hope that helps!!
Awesome. Thanks!!
DeleteI'm having the same problem as "Sweet Home Helena". I tried the command T trick and it was very blurry when I stretched it across the page.
DeleteCan you tell us exactly which number brush you used?
You are just incredible. How in the world did you figure out photoshop!? I love you.
ReplyDeleteAny chance you'll put these in the shop?
ReplyDeleteSure!! Which state/color are you interested in?
DeleteTN in Pink (with heart in Franklin) and IL in Yellow (with heart in Chicago)? I should just email you. :)
DeleteI LOVE this! Seriously just made my morning looking at these! I want one so bad now!
ReplyDeleteSuch a great tutorial! Quick question - I'm getting stuck at #10. I've resized the heart, placed it where I want it, selected the state layer, used the magnetic lasso, and somewhere between hitting enter & deleting I'm either left with a dashed line outline of the heart or nothing at all....
ReplyDeleteAny suggestions?
Thanks again!
Just kidding... I figured it out! :)
ReplyDeleteHi! Would you happen to know how to do the inverse of this? As in, keep the background white and the state is water-colored instead?
ReplyDeleteThank you!